Game Box
Designing and making the box took the longest, so here are some instructions in case you need them.
__
Disclaimer: When I made the first one (for my brother), I noticed that the inner parts of the box didn't fit properly and had to readjust them manually. I adjusted the print files, but haven't tested them yet, as I don't have the resources to do so at the moment.
As soon as I can, I'll print everything out again and check if everything fits now. (August 2025)
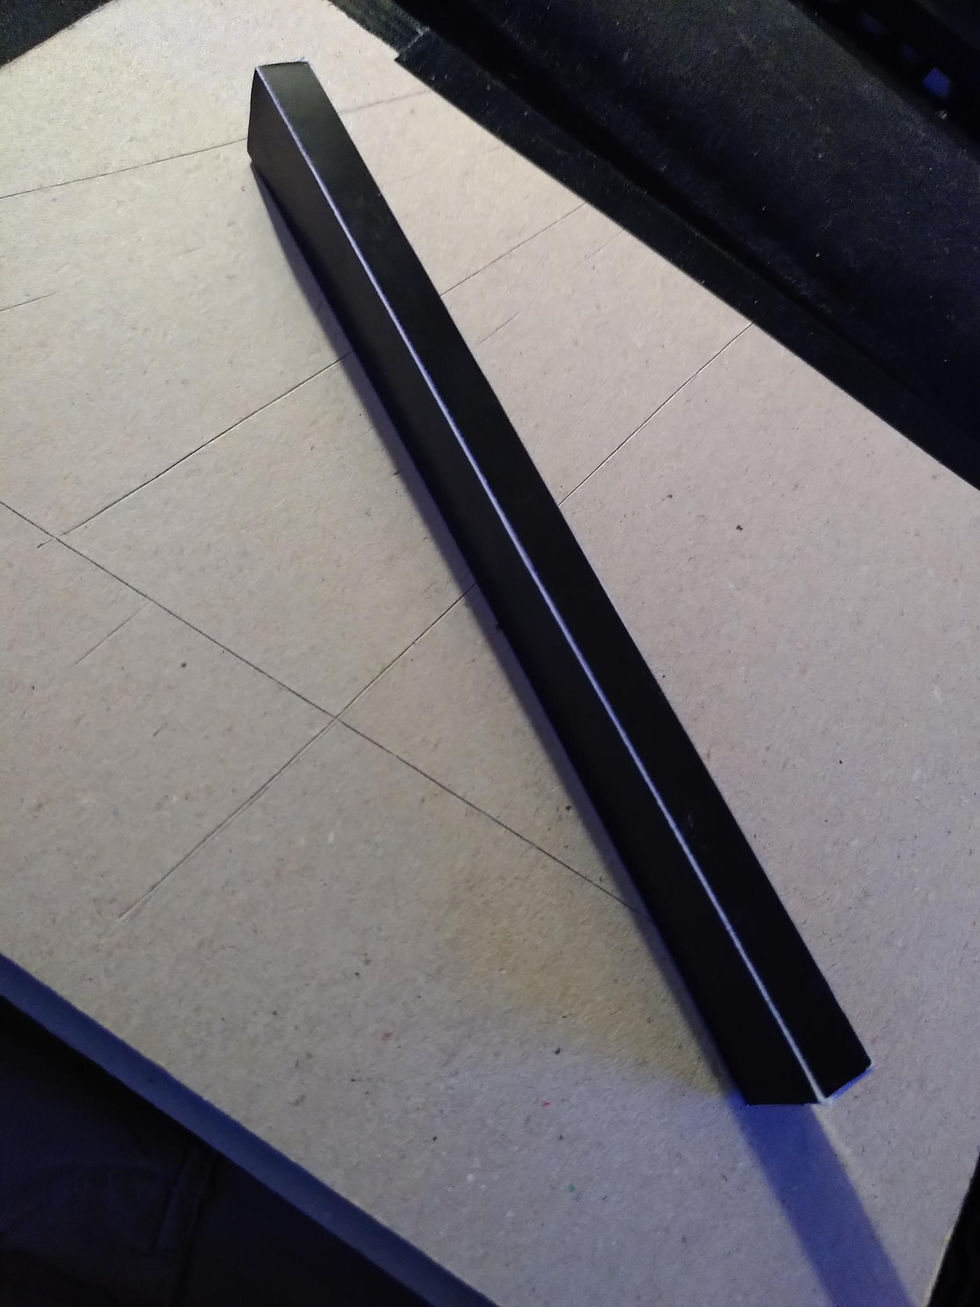
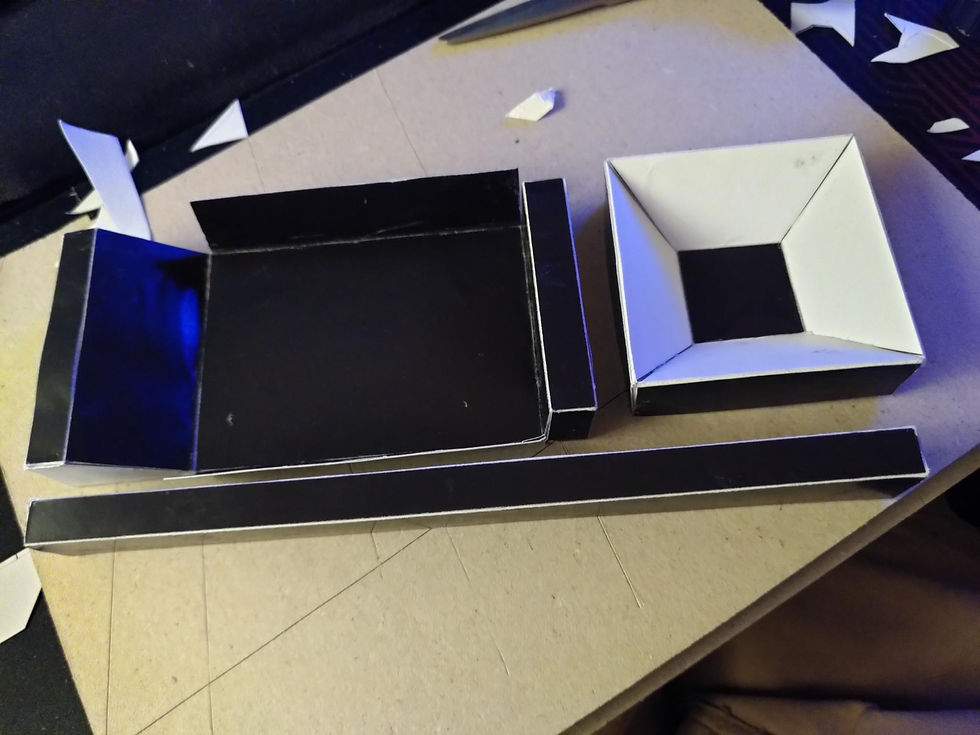
Step 1: Interior parts
The interior of the box consists of a total of 18 components. You can see how they are arranged here:
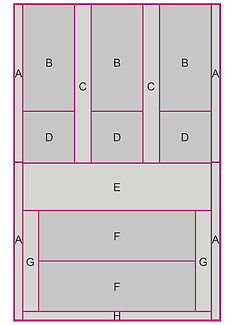
The print files contain the corresponding letters so that you can arrange them correctly.
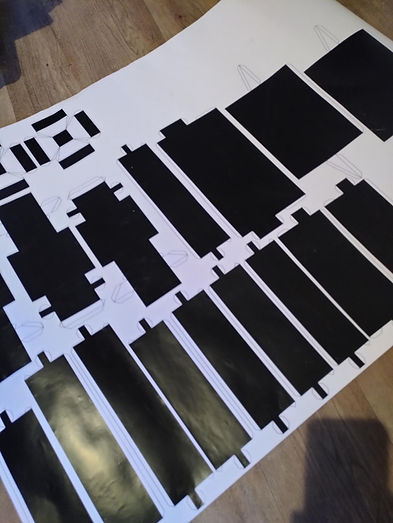
Print out the files and stick them onto the appropriate cardboard. I used very thin cardboard for the interior parts. It should be more stable than normal paper, but not too thick so that it can still be folded. As you can see in the photo below, I glued all the pieces onto a large piece of white craft cardboard (the templates were black at the time, but I changed that in the new files).
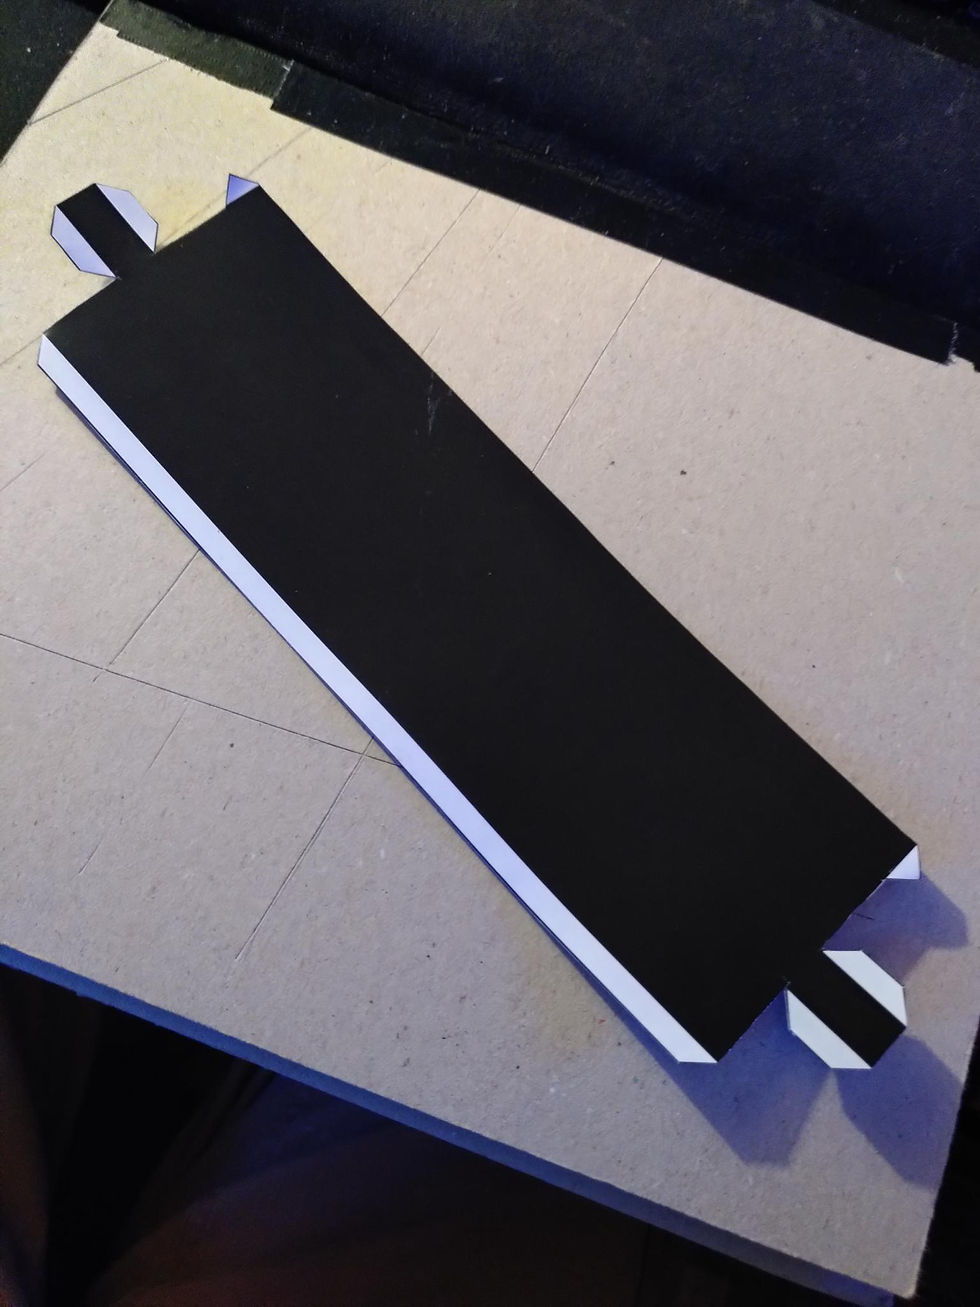
Once the glue has dried, cut out the parts and stick them together. In the new files, the areas marked in gray are the ones that will be facing upwards at the end. Here are some examples:
Step 2: The Box
I glued the templates for the box onto 1.5 mm thick cardboard, cut them out, and glued them together.
My glue wasn't strong enough for the cardboard, so I secured the flaps on the sides with tape. Since I painted the box with black acrylic paint at the end, this wasn't a problem.
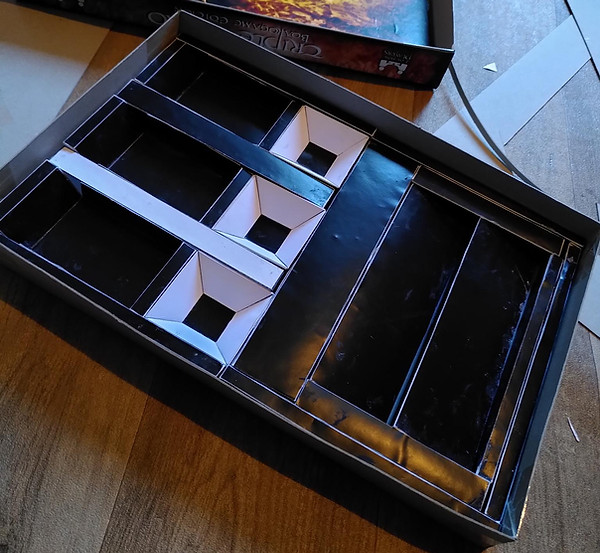
Step 3: Put everything together
Once the top and bottom of the box are finished, put the pieces inside and you're done. For better stability, you can also glue the inner parts together.
Now you can design the box however you want. For the game for my brother, I painted the inside of the box completely with black acrylic paint.
However, when I started the project, my first idea was to line the inside of the box with black felt. Maybe I'll do that the next time when I'm printing one for myself.
Be creative!